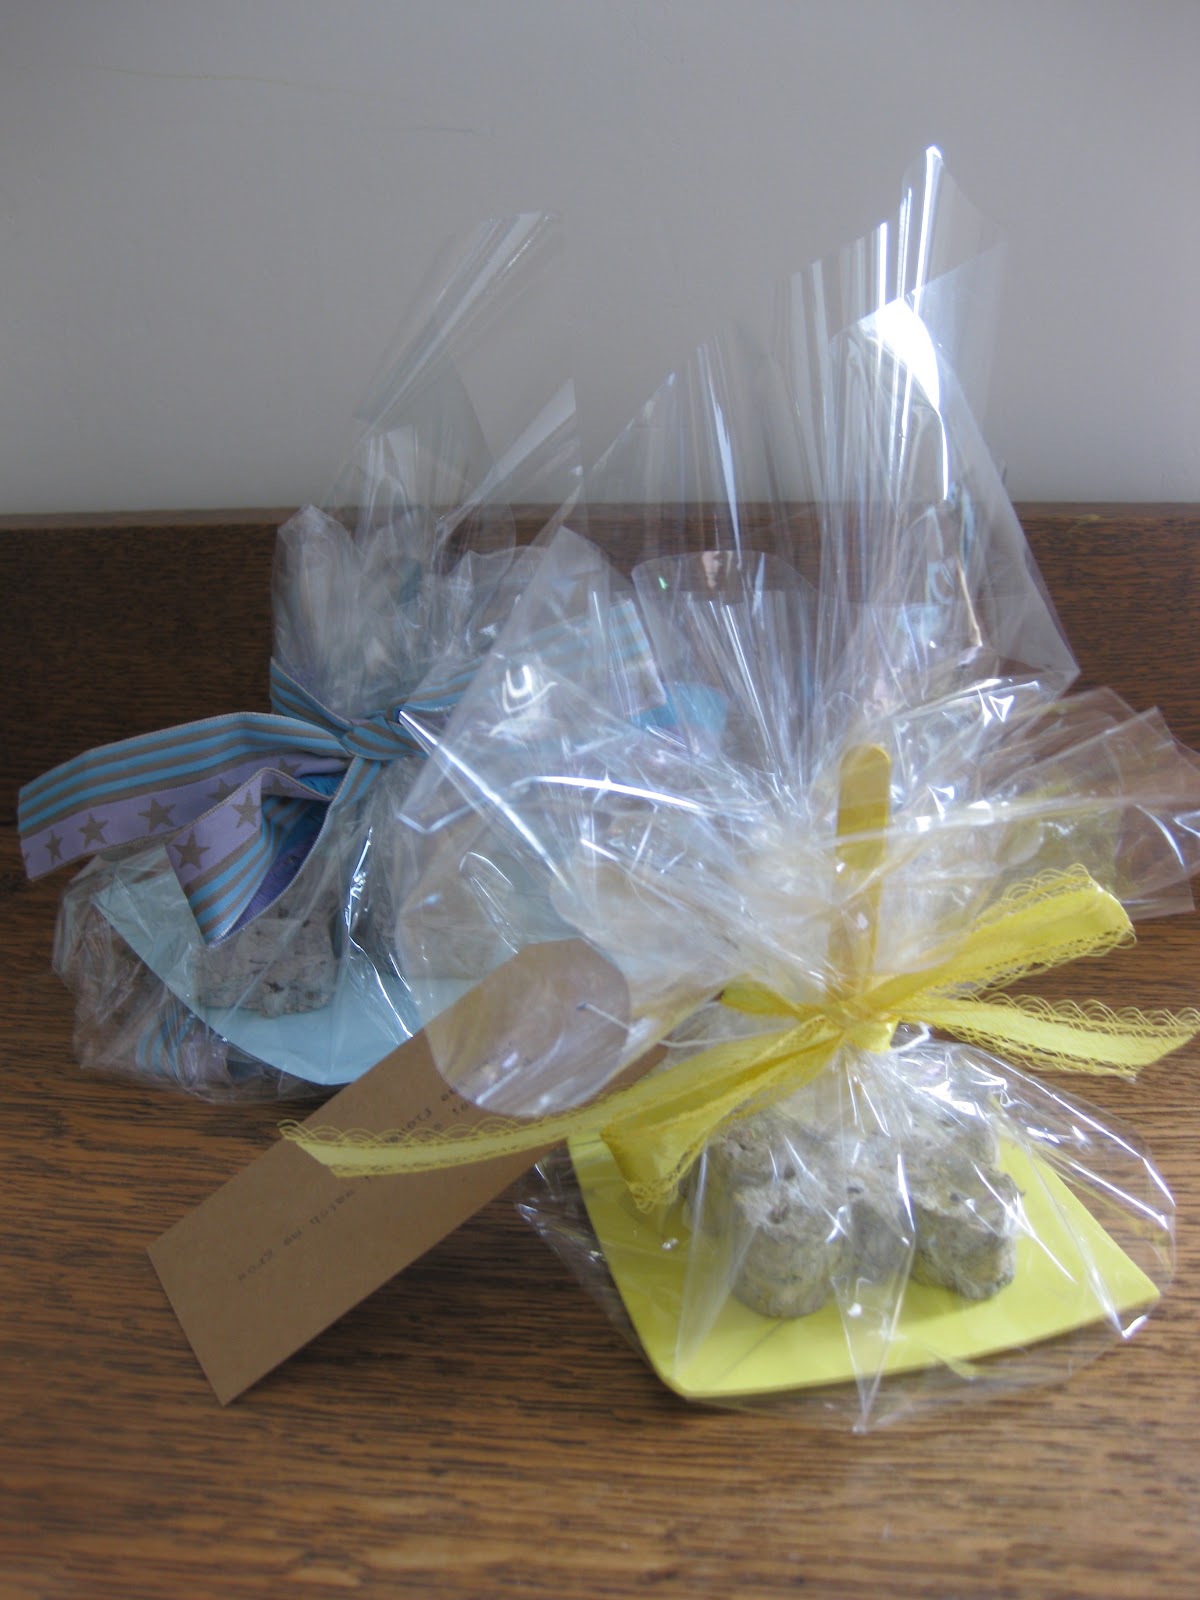
It's Ruby's birthday next month so I've been having a trial run of something I want to make for her party bags. That's if I do a party - after last year I'm not sure I can face it! If not, I will make these as birthday treats for her to take into nursery for her friends. The custom is to take sweets or cake in, but I think these are nicer.
They'd also make nice Easter gifts, an alternative to Easter eggs and it means giving something that will last and last.
 |
| A long-lasting gift to plant & enjoy the flowers |
I experimented and made this up as I went along, but I'm really happy with the end results. It's a great craft that kids can join in with, it's perfect for spring time and it's practically free!
 |
| These go in the ground not in your mouth! |
You will need:
Newspaper
Seeds
Cookie Cutters or shaped silicone ice cube moulds/cake tins
A blender
Sieve
Natural food dye (optional)

1. Tear up the newspaper into pieces. You don't need to be precise but try not to make them bigger than a couple of inches.

2. When you have a nice lot of newspaper pieces, pop them in the blender a couple of handfuls at a time. Add some water. Judge this by eye, but it's better to have the mix too wet than too dry as you are going to squeeze the excess out anyway. If it's too dry or you put too much paper in, you risk jamming your blender. Give it a good blitz until you have a pulp. Work in batches, transferring the pulp you make into a sieve resting over a bowl. If you don't have a blender (or if you think your motor won't cope!) you can do this by hand in a bowl but you will need to tear your paper up into teeny tiny pieces first then mix and squidge together with water.
3. If you want to add food colouring, now is the best time to do it. We weren't able to get an even distribution of colour throughout the mixture and I tried it at various stages. But if you put a few drops onto your wet pulp now and squidge it in your hands, you'll get a hint of colour (and also on your hands!). Remember, these are to be planted so don't use chemical colourings.
4. Squeeze out the excess liquid. Get as much out as you can.

5. Add your seeds. I used one pack to make six large 'cookies'. We chose wildflowers as these are gifts for young children so I didn't want any complicated growing instructions. Thompson and Morgan have a trial price on their meadow flowers at the moment of only 99p. You can find them in garden centres, or try Wilkinson's and pound stores for cheap seeds. Vegetable seeds would be great too, especially if you match the shapes to the produce.

6. Next fill your cookie cutter shapes with the seed mixture. We chose butterfly and bee shapes because that's what we hope the flowers will attract. You might find it useful to stand the cutters on some kitchen paper to absorb any liquid that will be squeezed out. Push the pulp down very firmly.

7. Carefully push out your shaped pulp from the cutter, and leave on some greaseproof paper in a warm place to dry. You want them to dry quickly so the seeds don't start to germinate.

8. Once fully dry (ours took about 24 hours), wrap up in pretty packaging. I placed a seed cake on a piece of card to keep it stable, added a lolly stick so the planter can remember where they put them, and wrapped in cellophane salvaged from a bouquet of flowers. Add a pretty ribbon and a label and you're done.